
OpenLash handbook
How the WebUI works, and what you need to understand before you chat.
1. What OpenLash is
OpenLash is an agent console. You do not just “talk to a chatbot”. You pick a place in a workspace, attach knowledge (the catalog), choose how deeply the agent should think, send a message, and then inspect how it answered.

Sign-in is at /webclient. The login page has a language picker, links for Introduction, Handbook, and Videos, and I want access to the pilot. After login you land on the console. Sessions last eight hours. The public landing page at / plays the introduction video; this handbook stays at /handbook.
In-house first
OpenLash tries to run the first loops on its own infrastructure. Gate and Select run on GPUs we host, with smaller models that stay in-house.
Everyday chat stays on that cheap path. You do not pay a frontier model just to say hello. Hard jobs — especially Answer — can leave the building: Grok, Claude, ChatGPT, or whichever key you have configured.
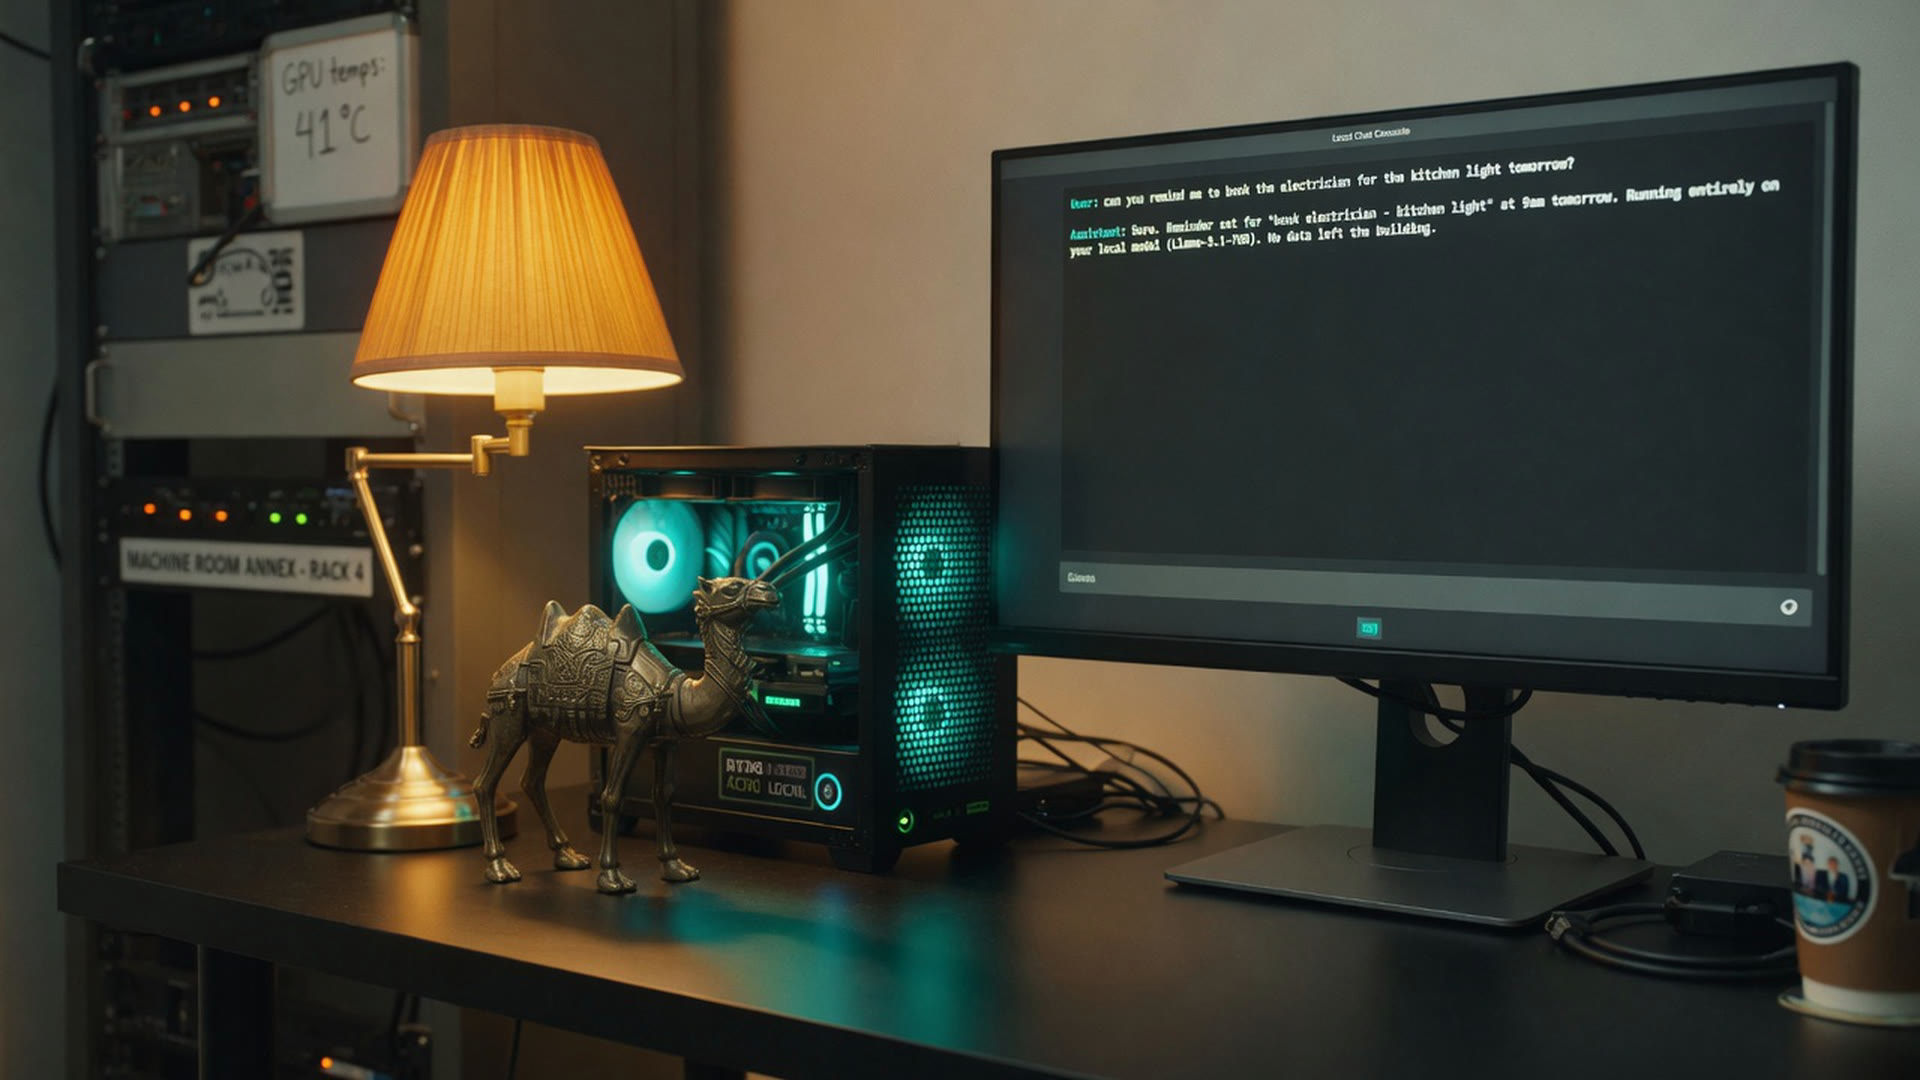
Good orchestration picks the lightest model that can do the job, so you are not burning a huge context — and a huge bill — on every turn. The expensive models only see the slice that actually needs them.
2. The three panes

| Where | What it is |
|---|---|
| Header | Models (which model each loop stage uses) and Menu (AI-Models, Profile, Settings, Language, Help, Logout). |
| Left sidebar | Workspace → Project → Agent → Session. Each level has skill/mem/plug. Agents show a preview, unread count, and busy/active state. Global catalog appears only when the left sidebar is wide. |
| Center | Chat path, messages, input. Send, Stop, and Auto / Fast / Deep next to the box. |
| Right sidebar | Protocol — Gate / Select / Act / Answer chips after a reply. Click a chip for the prompt and response. |
Sidebars can be minimized or maximized. On a narrow screen they collapse so the chat stays usable.
3. Hierarchy

- Workspace — a company, team, or area of work.
- Project — a job inside that workspace.
- Each project starts a Podman container. Each agent in that project gets their own desktop with Firefox, Thunderbird, a terminal, and so on.
- Agent — the persona that chats (can use a template).
- Session — one conversation thread. Messages are stored here.
- Global — catalog items that exist for everyone and can be switched on at a lower level.
Use + to add, the pencil to rename, and the trash can to delete (deletes children too — you will be asked). The breadcrumb above the chat shows the current path.
Backup is on the pencil (edit) dialog: a stats strip above the catalogs, with Backup and Restore in the top-right. You choose what to include and may encrypt with a password. Restore warns if the name already exists (Skip, Replace, or Rename).
4. Chat
- Ctrl+Enter sends. Plain Enter inserts a new line.
- Send posts the box. Stop cancels an in-flight reply. Auto, Fast, and Deep sit next to the box. Fast is the starting choice. The Q button next to them turns the quality check on or off.
- Type
/skillsto list skills linked in this context. - Edit is on your messages only. On an assistant message: Copy, Info, Redo, and four feedback buttons (👍, 👍👍, 👎, 👎👎).
When there is no project yet, Ole owns this main chat and asks what you want to set up. The sidebars, the mic, voice, and upload stay hidden until that project exists. Menu, then Settings, has Chat and Look tabs: Chat is the mode, Look is font and theme. Empty chat shows “Send a message to start.”
5. Chat modes (the loop)
Open Menu → Settings → Chat mode. This is the most important setting after the hierarchy.

| Mode | What runs | When to use it |
|---|---|---|
| Auto | Gate decides Fast or Deep | Let Gate choose. |
| Fast | Gate → Answer | Starting choice. Quick replies. |
| Deep | Gate → Select → Act → Answer | When skills, memories, or tools should participate. |
What each stage does
- Gate — is the request allowed, and which path should it take?
- Select — which catalog items (skills / memories / plugins) belong in this turn?
- Act — act on that selection. Tools: read / write / reflect / jailed shell under
agent_files/. No host bash, no network. - Answer — the message you actually read.
6. Catalog: skills, memories, plugins

Every sidebar level has skill/mem/plug. That opens the catalog for that level.
- Skill — instructions the agent should follow (style, process, language).
- Memory — durable facts (names, preferences, project notes).
- Plugin — extra capability advertised to the agent.
Each item has a three-position switch:
| Mode | In the prompt? |
|---|---|
| Off | Not included. |
| Medium | Advertised (the agent can ask to use it). |
| On | Included in the prompt for this level. |
Items inherit downward. A more specific level can override a parent. Global items can be switched on at workspace, project, agent, or session. The Src column (GL / WS / PJ / AG / CS) tells you where an item came from. Token counts (T) are a rough size hint — large On items fill the prompt. Only an admin can create, edit, or delete catalog items. Demo and pilot users can read the catalog; writes return 403.
7. Models vs AI-Models
These are two different screens. Mixing them up is the usual first-week confusion.
| Control | Where | Job |
|---|---|---|
| Models | Header button | Which model runs Gate / Select / Act / Answer. Lists OpenLash (in-house) and Your keys (Ollama/APIs). Setup (upper right) opens AI-Models. Auto inherits from the parent. |
| AI-Models | Menu | Your external Ollama and API keys: name, API key, base URL, model. In-house pins stay under Models, not this list. |
Without at least one working provider key, chat cannot reach a model. Demo users can look at these screens but cannot change them.
8. Protocol
The right sidebar is not a second chat. It is a trace.
- After you send, you see “Message sent”, then loop chips (L1, L2, …) with stage, model, and token bars.
- Green bar ≈ your chat tokens. Blue bar ≈ prompt sent to the API.
- Click a chip to read the prompt and the model’s reply for that stage.
If a reply looks wrong, Protocol is the first place to look: Did Gate block it? Did Select pick the wrong skill? Did Answer use a different model than you expected?
9. Settings, language, profile
- Settings — chat mode, theme (Dark, Light, Matrix, Neon Pulse, Sunset Glow, Arctic Frost, Hackers, mIRC, ICQ, Amiga, FreeBSD, BitchX, Android Dark, Android Light, iOS Dark, iOS Light), font size (smaller, small, normal, big, bigger).
- Language — flag/code select at the top right of Help and this handbook (32 languages). Menu → Language does the same for the console and saves it on your profile. Login has the same picker.
- Profile — account username and role, display name, email, password (current password plus new password at least 8 characters, confirmed).
10. Platform admin and workspace roles
The platform admin is the only account that can add provider keys, set the active model, change loop models, write the global catalog, and open project servers. Someone who registers is admin of their own workspace. They can invite an existing account into that workspace, or into one project, as admin, worker, or view. A worker can chat and change agents and sessions. A view login can read but not send. Writes to keys, loop-model maps, and catalog items stay platform-admin only (403 for everyone else).
11. Help inside the console
Open Menu → Help any time:
- Watch introduction — short branded overview (also on the landing page).
- Topic videos — in-house loops, hierarchy, project Podman containers, Global catalog, console layout, catalog switches, Protocol, Models / Auto, plus chat, modes, settings, roles, Help, and the console tour.
- Open handbook — this page, inside the console.
- Take the tour — six steps (hierarchy, chat, protocol, Models, Menu, catalog) with Skip, Back, Next, and Done.
The Help dialog also has an Overview, the in-house loops explanation, and Shortcuts. The first time you open the console, the introduction plays automatically. Skip it with Escape, or click after one second; Help keeps everything.
How the console works
Short clips for each part of the UI. Open any of them from Menu → Help as well.